Annotating Bulk Synthetic Libraries
Synthetic antibody libraries, often used in display technologies like phage display, require a specialized bioinformatics approach for annotation. Unlike natural libraries that are aligned against a public reference gene database (like IMGT), synthetic libraries must be aligned against a known, custom reference sequence of the library's construct.
This guide details the workflow for analyzing amplicon sequencing data from bulk synthetic libraries using the MiXCR amplicon alignment block in Platforma.bio.
Project setup
Before beginning the analysis, ensure your project is properly set up and you have added your raw sequencing datasets. For detailed instructions, please see the main How to import data guide.
Getting started: MiXCR amplicon alignment
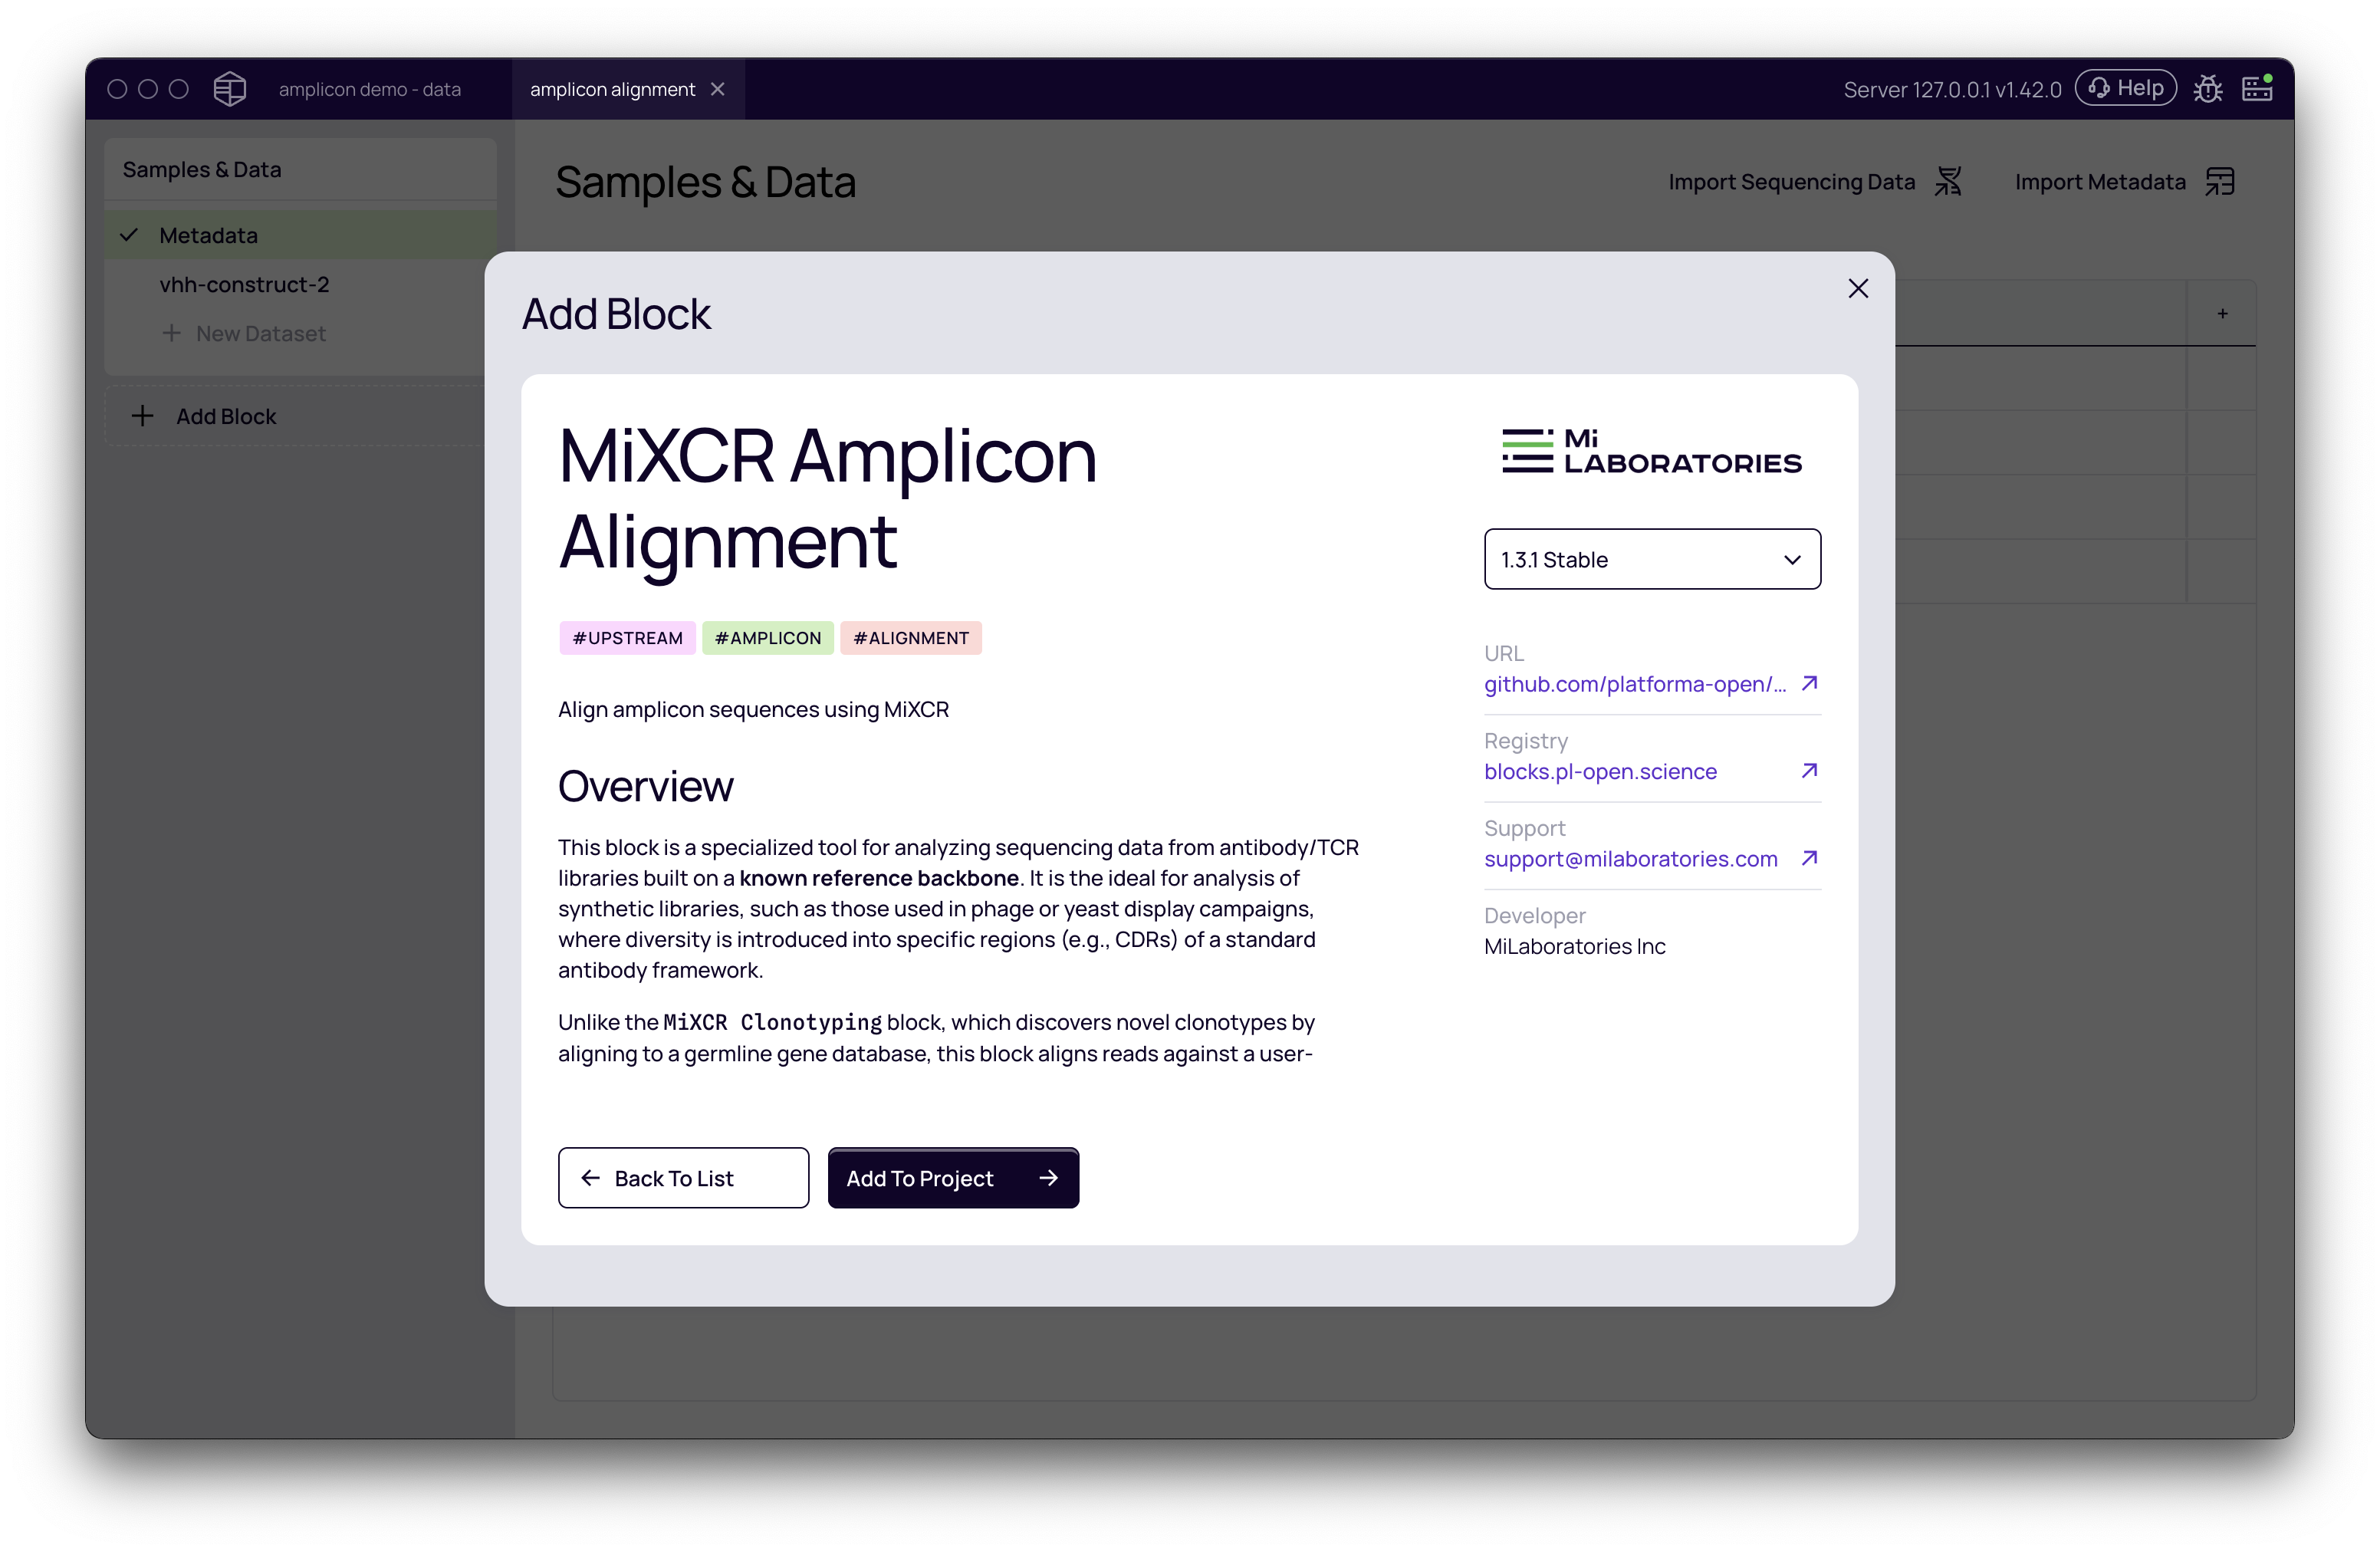
Navigate to your project. On the left-hand panel, click Add block, find the MiXCR amplicon alignment block using the search bar, and add it to your project.
Settings configuration
Once the block is added, the settings panel will appear on the right. Correctly configuring these settings is the most critical part of the analysis.
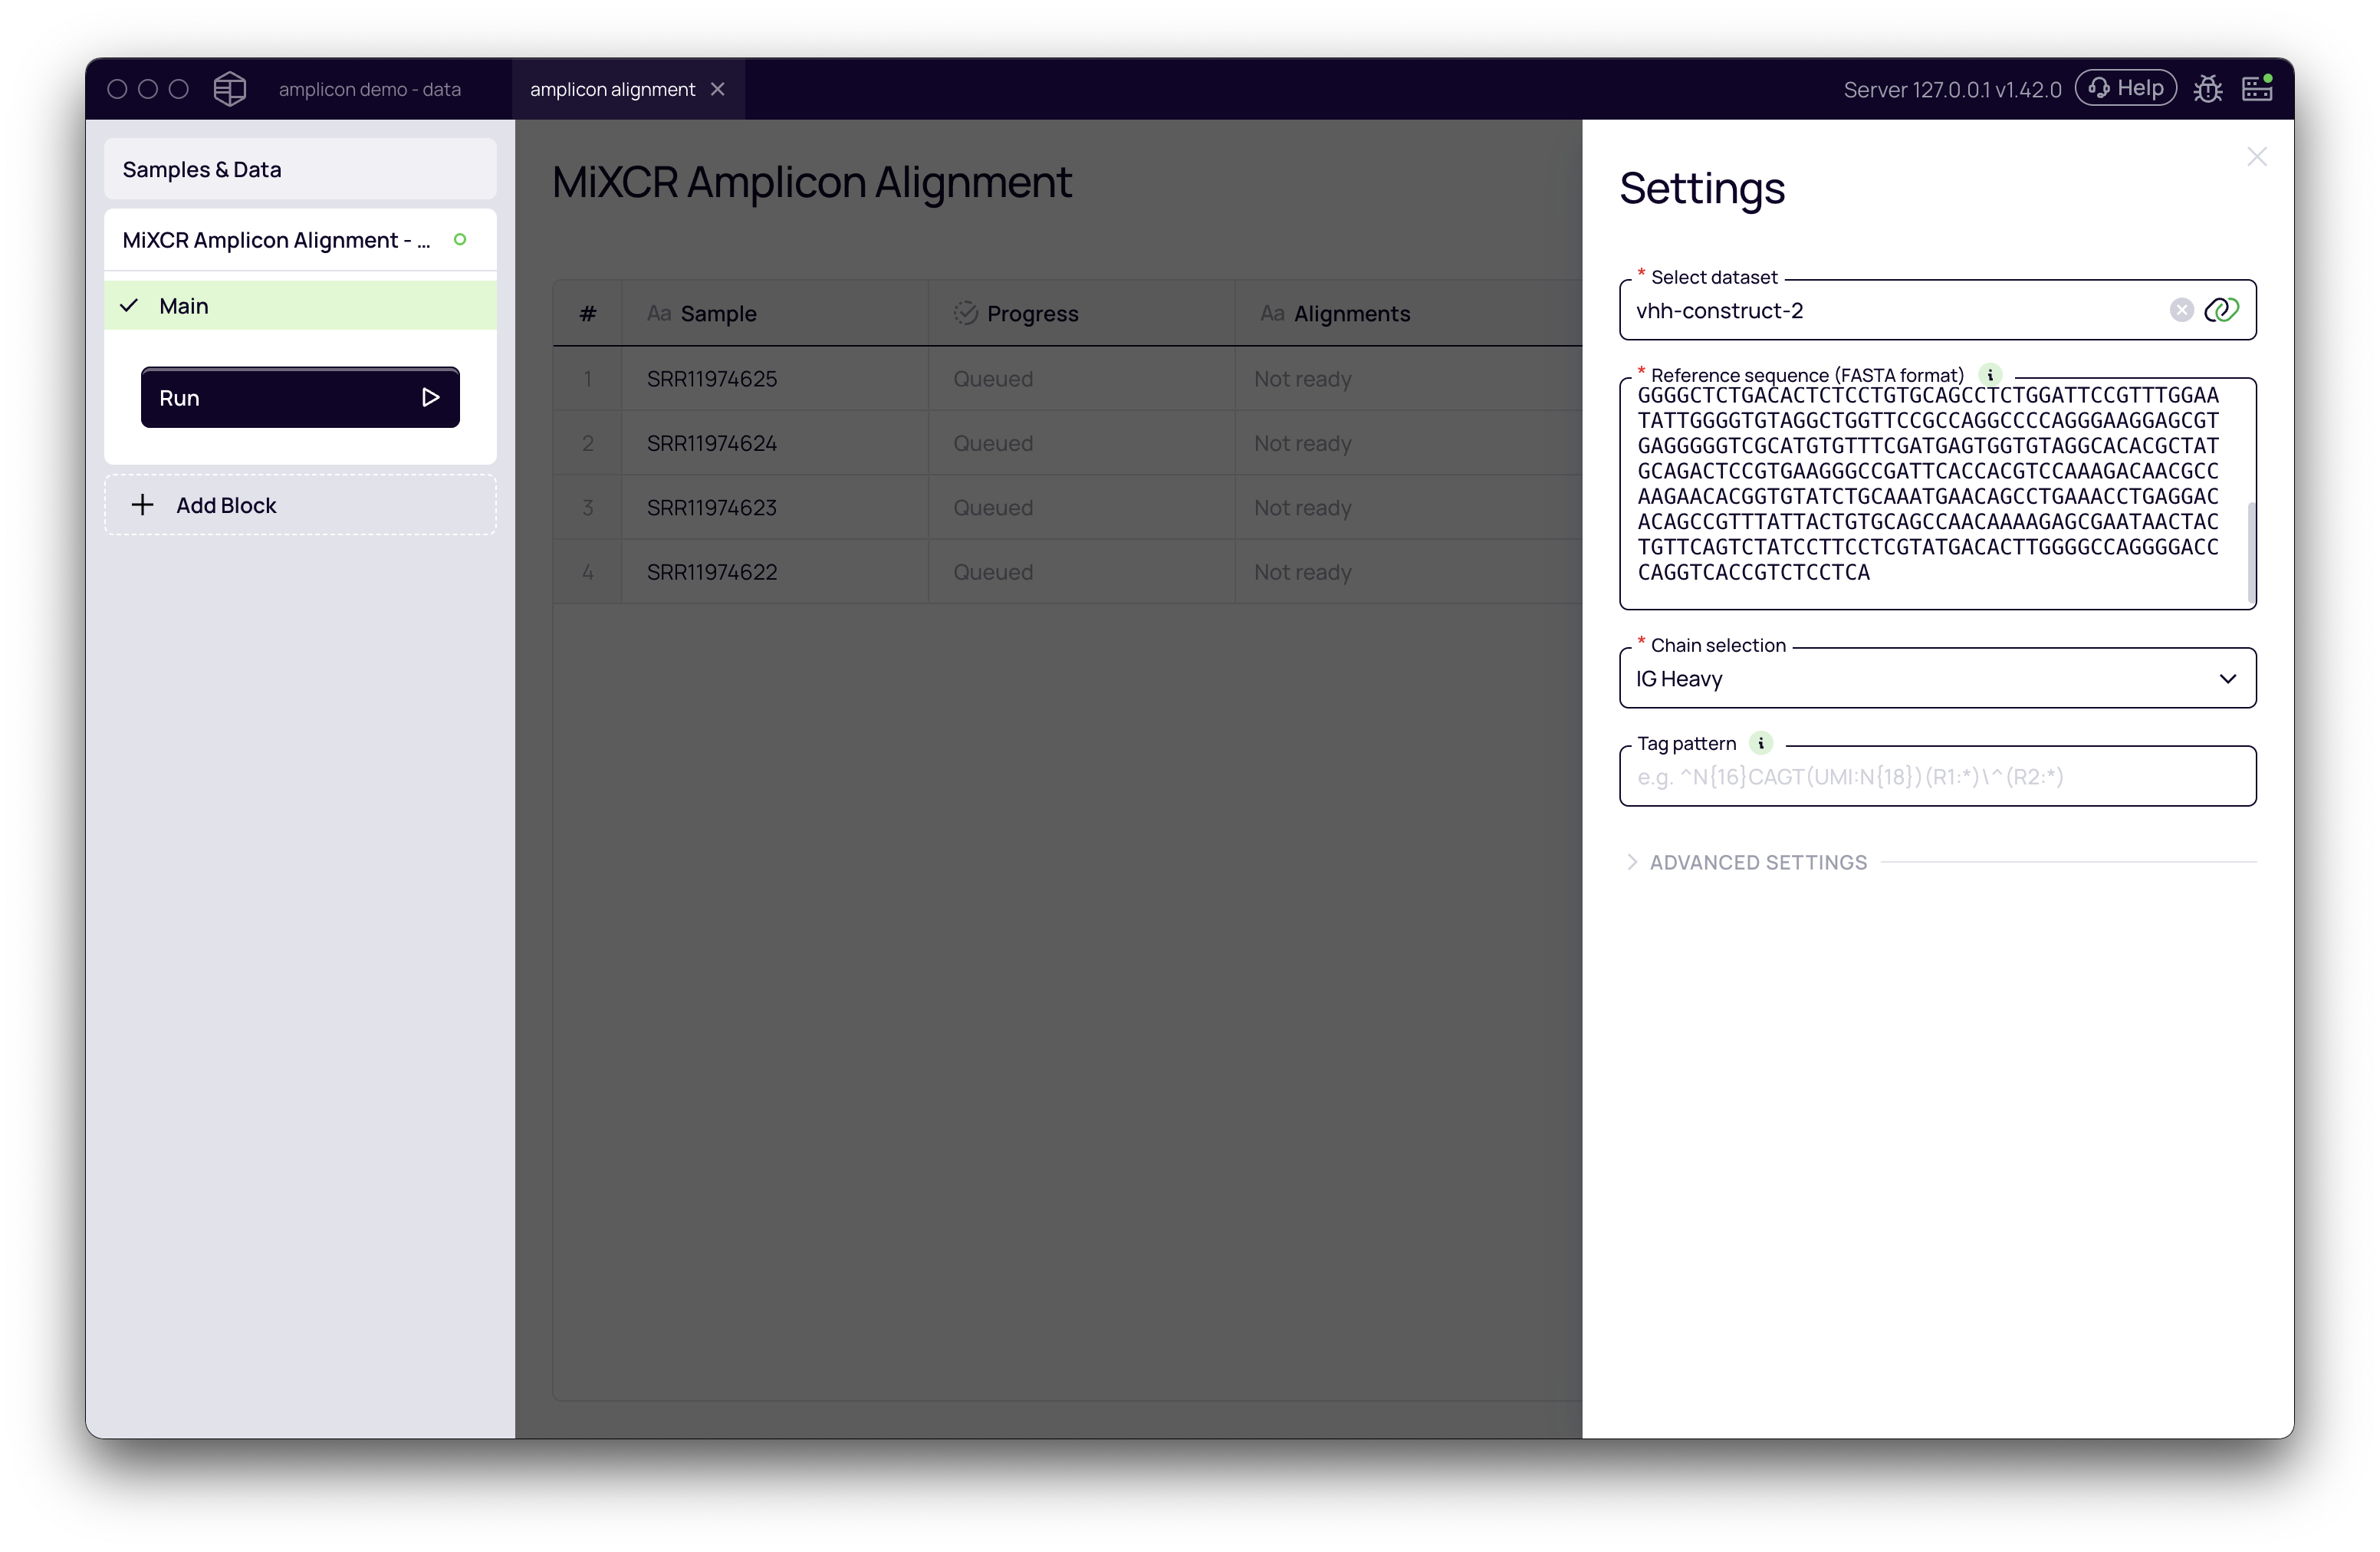
- Select dataset: Choose the dataset containing the samples you wish to analyze.
- Reference sequence (FASTA format): This is the most critical parameter. Paste your synthetic reference sequence(s) here. You can provide a single sequence or multiple sequences in standard FASTA format.
IMPORTANT The quality of your results depends entirely on the reference sequence provided. The sequence should represent the exact VDJ region of your construct. Providing an incorrect, out-of-frame, or partial sequence will lead to poor alignment rates and inaccurate results.
- Chain selection: Specify the chain type of your construct. For most antibodies or nanobodies, this will be IG Heavy.
Tag pattern for UMI/barcode extraction
If your sequencing data includes Unique Molecular Identifiers (UMIs) or barcodes, you must configure a tag pattern to extract them. This ensures that amplification bias is corrected by counting UMIs instead of raw reads.
The syntax for these patterns can be complex. For a comprehensive guide, refer to the official MiXCR documentation.
Below are examples for common scenarios.
-
Example 1: UMI in Read 1 For a 12-base-pair UMI at the beginning of Read 1 in a paired-end run, the pattern would be:
^(UMI:N{12})(R1:*)\^(R2:*)^indicates the start of the sequence.(UMI:N{12})captures the first 12 nucleotides (N{12}) as the UMI.(R1:*)captures the rest of Read 1.\^is the delimiter between Read 1 and Read 2.(R2:*)captures all of Read 2.
-
Example 2: Barcode and UMI in Read 1 For a library with a 16 bp cell barcode, followed by a 4 bp primer (
CAGT), and then an 18 bp UMI at the start of Read 1:^N{16}CAGT(UMI:N{18})(R1:*)\^(R2:*)N{16}matches the 16 bp barcode (it is not captured).CAGTmatches the constant primer sequence.(UMI:N{18})captures the 18 bp UMI.
Advanced settings
The block contains several advanced settings that can be crucial for an accurate analysis.
Error correction
Sequencing and PCR can introduce errors into reads. The error correction module is vital for identifying and correcting these errors, preventing the overestimation of library diversity.
- Relaxed error correction, faster assembly: (Recommended for most synthetic libraries). Synthetic libraries often contain higher variability from mutagenesis. This mode is optimized to handle this diversity efficiently.
- Default MiXCR error correction, slower assembly: Use this option if your sequencing data is of lower quality or was generated with long-read technologies known to have higher error rates.
- No error correction, fastest assembly: This option is not generally recommended, as it can lead to the reporting of erroneous clonotypes.
Downsampling for quick runs
To quickly test your settings and pipeline, you can limit the number of reads analyzed per sample.
- Take only the first N reads into analysis: Set a number (e.g.,
1000) to perform a dry run. Remember to clear this field to run the analysis on the full dataset.
Running and interpreting the results
After configuring the settings, click the Run button. This will start the alignment process for all samples in the selected dataset.
As the analysis runs, you can monitor its progress. Once complete, you can assess the quality of the alignment.
- Alignment summary: The main view shows a summary bar for each sample, indicating the alignment rate.
- Green: The proportion of reads that successfully aligned to your reference sequence.
- Yellow / Red: The proportion of reads that failed to align for various reasons. Hovering over these sections provides details, such as "No gene hits," which indicates that the read did not match the provided reference.
- Reference library generation logs: For a more detailed view, you can click the Reference alignment logs button at the top right. This shows the raw logs of how the underlying software reconstructed the reference library from your provided FASTA sequence before performing the sample alignment.
- Sample reports: Clicking on an individual sample allows you to view detailed reports and logs from the MiXCR analysis for that specific sample.
Downstream analysis
Once the alignment is complete and you are satisfied with the results, you can proceed with downstream analysis.
A common next step is to add the Clonotype browser block to visualize and annotate the identified antibodies. This block will provide a comprehensive table of all clonotypes, their corrected read counts (or UMI counts), amino acid sequences, and other relevant information.